Installing PowerShell on Windows Home Server
Whether you manage thousands of Windows boxes in an enterprise environment or you just want a more powerful shell environment with which to manage your backup scripts on your PC, Windows PowerShell is an excellent free tool at your disposal. PowerShell V2 comes pre-installed in Windows 7 but how do you get it up and running on your Windows Home Server?
You can install V1 of PowerShell via Windows Update as it is an optional update on Windows 2003 Servers (SP2) which is what a Windows Home Server is underneath. The instructions to do this are detailed here. Basically you go to Automatic Updates on the Control Panel, view the list of ‘optional’ updates and it should be there for you to choose.
What about PowerShell v2? Well a recent post on the PowerShell Team’s blog suggests that V2 will also be available via an optional update to Windows 2003 Servers, replacing the V1 option. The same instructions as above should apply.
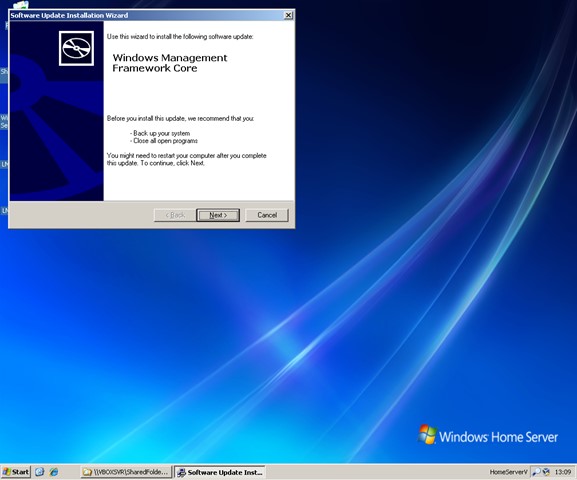
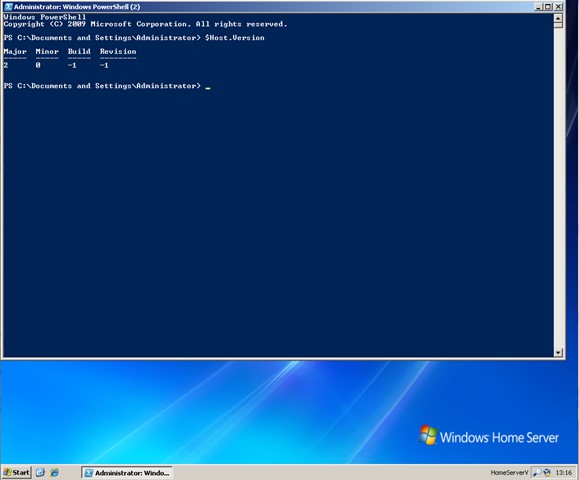
If the update isn’t available to you yet or you want to install V2 the manual way then you need to download the Windows Management Framework Core (KB968930) package which is detailed here. The Windows 2003 download relevant for Home Servers is here. It’s a very simple install and once complete you can access PowerShell V2 from the Start > Programs > Accessories > Windows PowerShell menu item.
For more information on Windows PowerShell check out “Getting Started with PowerShell” on MSDN or launch the PowerShell ISE environment from the PowerShell Start Menu folder (detailed above) and press F1. The bundled help files are surprisingly good and will soon get you up to speed. I intend to be posting more on PowerShell as I migrate all my server backup scripts over from standard batch file format to PowerShell.

