Installing Team Foundation Server on Windows Home Server 2011
Twelve months ago I wrote a post documenting “installing Team Foundation Server 2010 on Windows Home Server” which has proved very popular. Well things move on and since then Microsoft have released a new version of Windows Home Server (WHS 2011). There are many differences between V2 of WHS compared to V1 but the main points for the purpose of this post are that WHS 2011 is build on top of Windows Server 2008 R2 (compared to Windows Server 2003 for V1) and controversially the Drive Extender technology has been removed. Whilst Drive Extender was no doubt useful for storage pooling it did make installing applications like TFS a little concerning. As described in my original article I wouldn’t install an application or a SQL Server database into the Drive Pool (it just feels wrong to me and wouldn’t trust it) and I stick by this especially as it’s been suggested that one of the reasons for Microsoft removing DE was due to it not playing nicely with enterprise applications that would be targeted for use on the new Small Business Server Essentials product range with which WHS 2011 shares it’s code. No DE means you can install TFS now to whichever drive wherever you like in WHS 2011, and the fact that it’s built on the excellent Server 2008 base means it benefits from stability and performance improvements this brings. I’ve not found any issues with TFS on WHS 2011 and don’t expect to (although its not supported so you install it at your own risk). I think that WHS 2011 will make an even better TFS server than WHS V1.
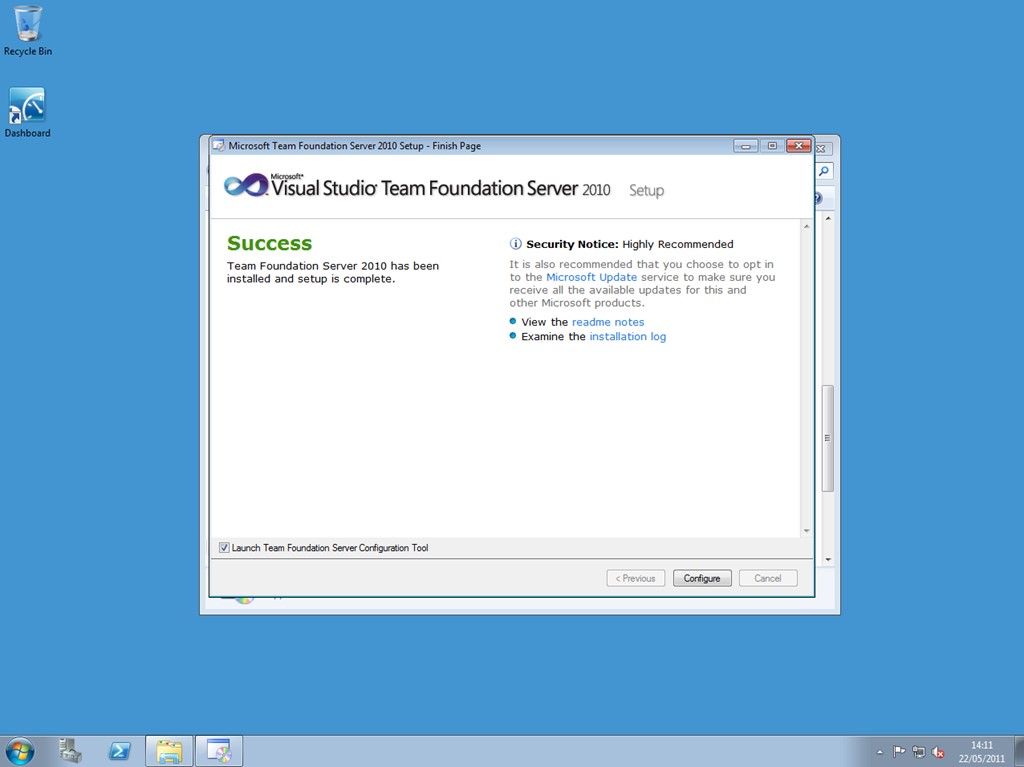
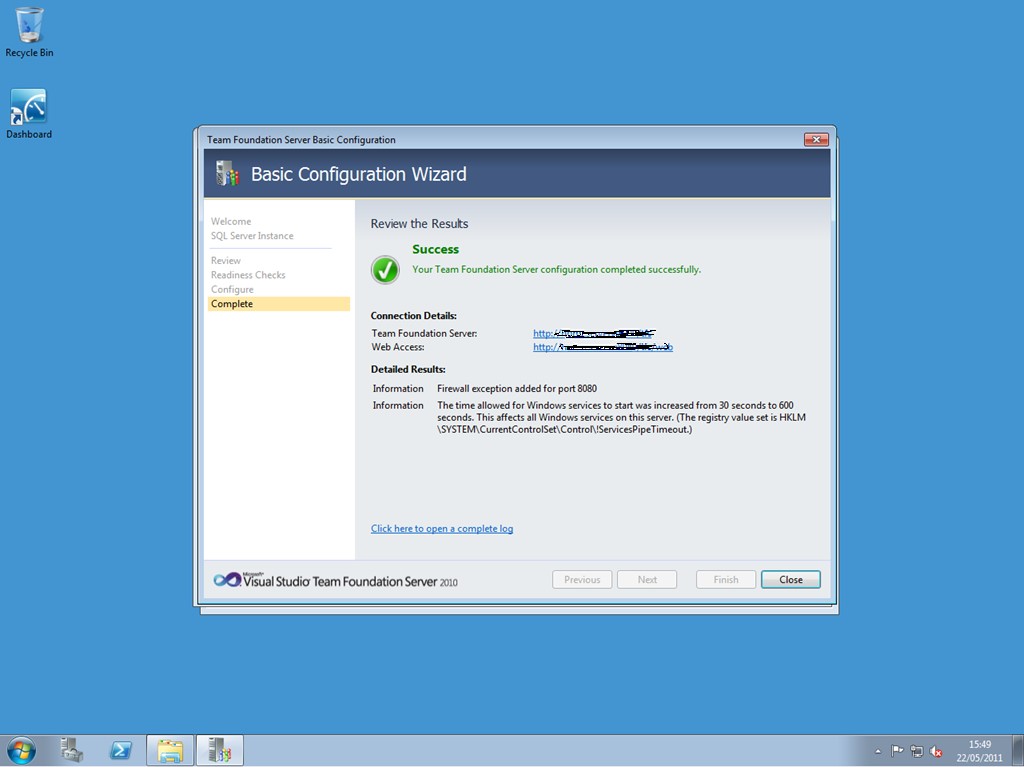
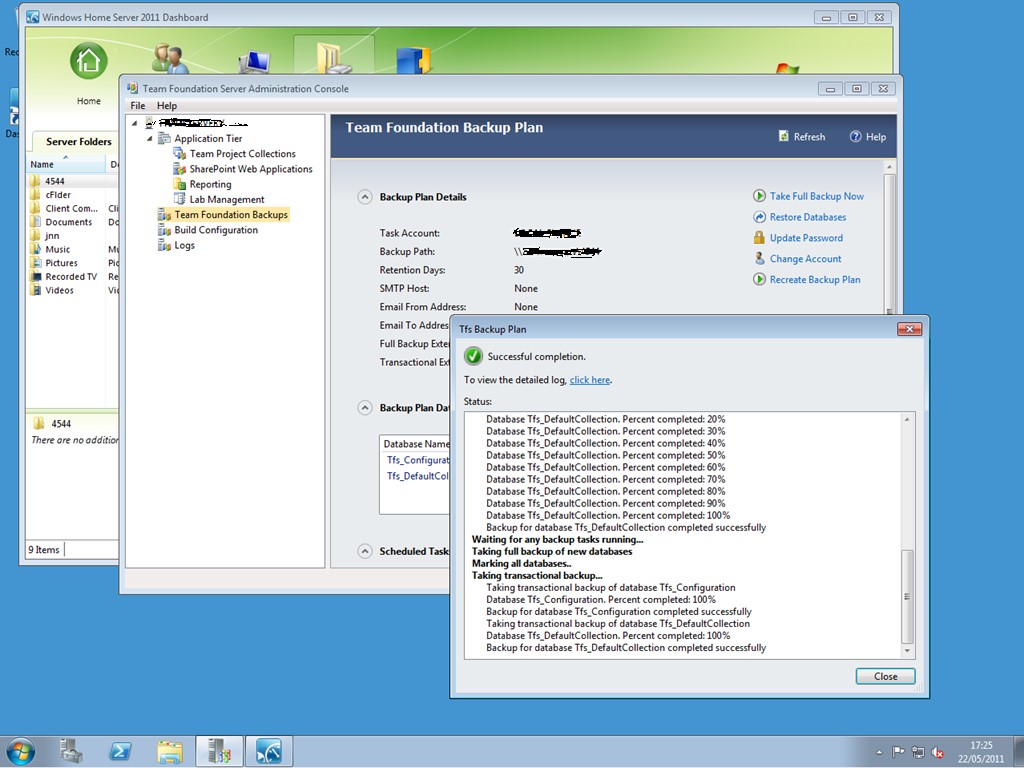
Other than the decision of where to install TFS due to DE, the installation instructions are the same as in my original post. After installation I recommend installing the TFS Power Tools and then configuring TFS backups as described in these posts: Backing Up TFS 2010 Using PowerShell: Part 1, Backing Up TFS 2010 Using PowerShell: Part 2 and Backing up TFS 2010 with new Power Tools Backup Plan.


